Start Camunda Platform
In order to execute the process, Camunda Platform needs to be started first. In this exercise, we will use a ready made version of Camunda that comes with some tools and default configuration to get started quickly. It is packaged as a Docker container and made available by Camunda - it’s called Camunda Platform Run.
|
You should have downloaded the image you need when preparing for the training. If you didn’t perform the steps outlined there, please go back to the training preparations and complete them before continuing |
Now run the Docker image for Camunda Platform Run (Enterprise Edition) from the command line.
docker run -d --name camunda -p 8080:8080 registry.camunda.cloud/cambpm-ee/camunda-bpm-platform-ee:7.20.4If you’re using Docker Desktop, you can observe the logs of the container by clicking on it in the list of Containers.
You can also check the logs by copying the container ID that is output to the console and using it in this command:
$ docker logs --follow <ID>
Once the startup has completed, you should see a message on the console like the following.
org.apache.catalina.startup.Catalina.start Server startup in [20632] millisecondsLog In
Go to your web browser and open http://localhost:8080/camunda . You should be greeted with the Camunda Welcome page. You can log in with:
-
Username:
demo -
Password:
demo
Camunda Licence Key
Using Camunda Enterprise Edition requires a licence key. You received one for use during the training. The licence key can be added to Camunda in the webapp.
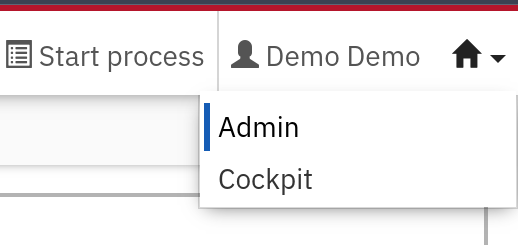
Go to the top of the screen and select the Admin tool from the popup menu beneath the home icon.
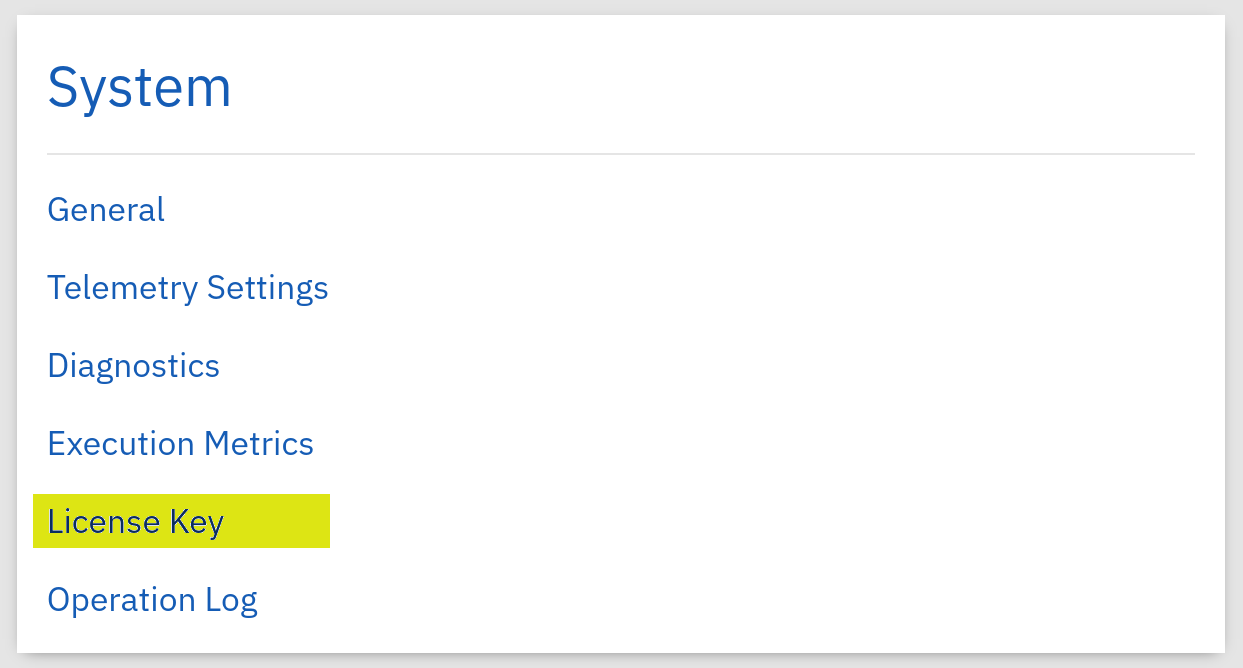
In the section labeled System, select the License Key link.
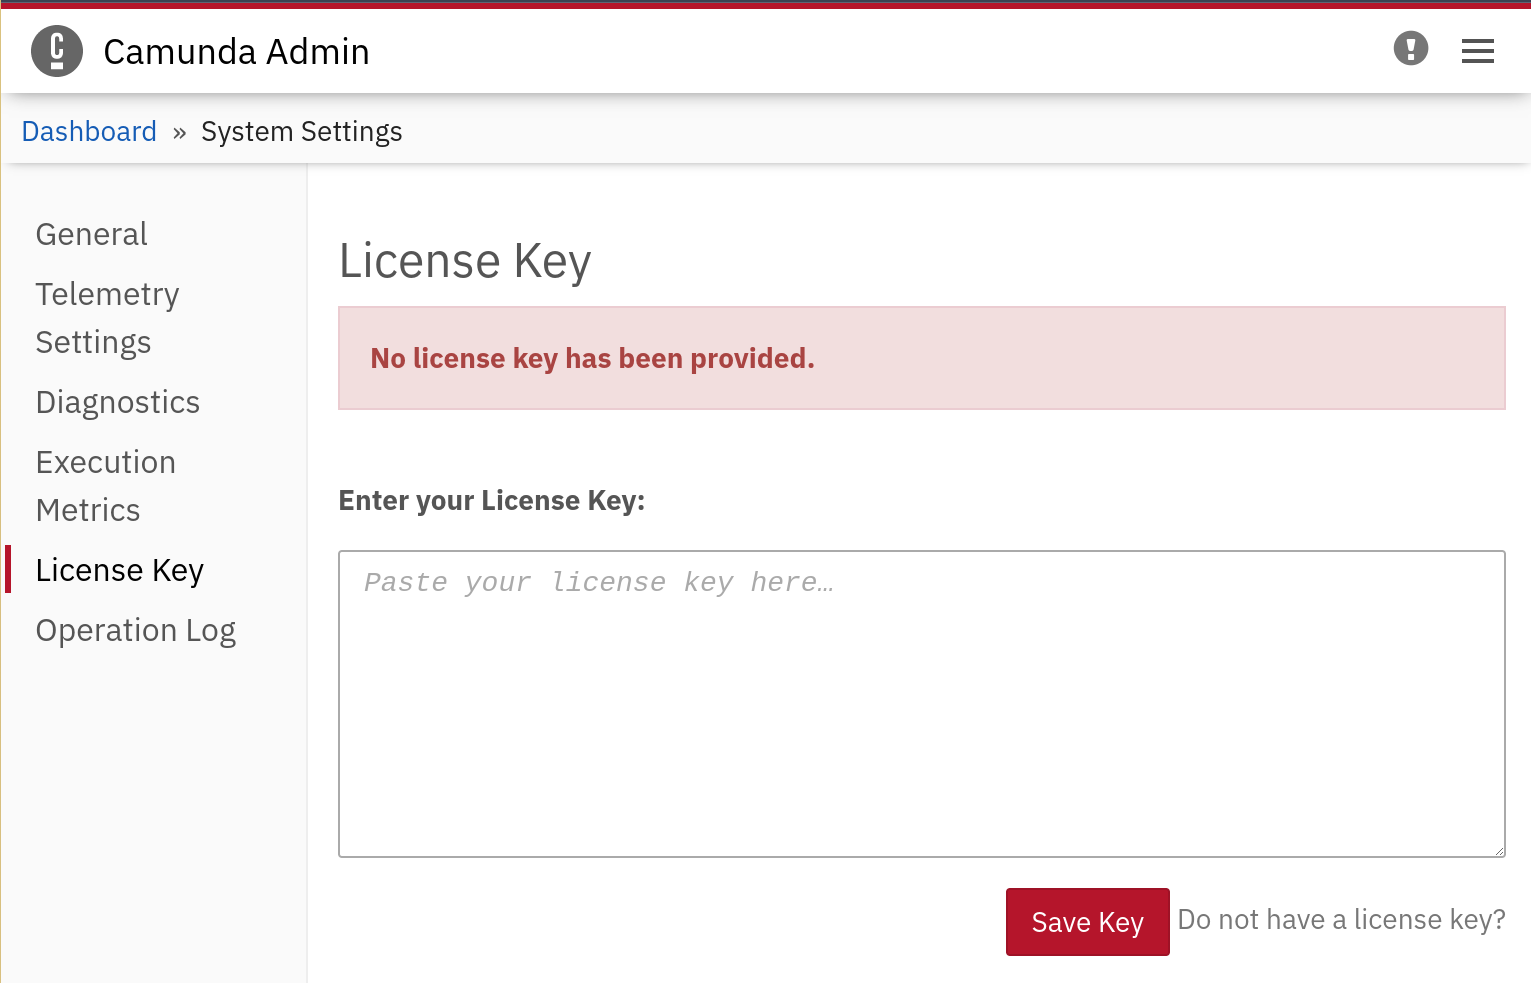
A screen is shown where you can paste the licence key you received into a text field. Copy and paste from the e-mail you received and click the Save Key button.
Now use the Home button again to move to the Cockpit of Camunda’s webapp.
